Designed, 3D printed, assembled, painted,
& shipped from Oregon, USA since 2016
Search
Product Categories
FEATURED PRODUCTS:
-
Standard Mini Enail
$84.99$79.99 -
R2-D2 E-Nail | Star Wars | Limited Edition
$209.99$179.99 -
Custom Enail Controller
$159.99$149.99 -
Sale!
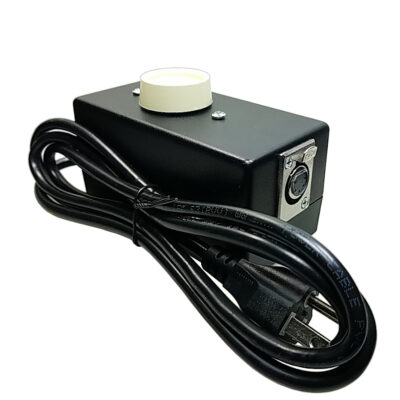
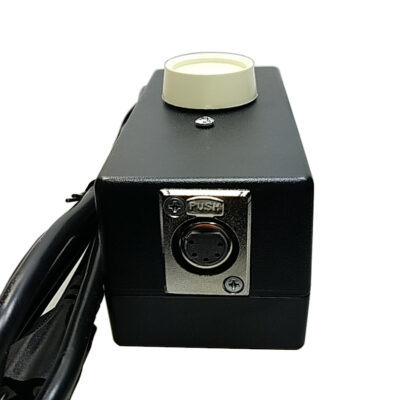 Out of stock
Analog Enail | Basic Version With Full Setup Options
$74.99$64.99 -
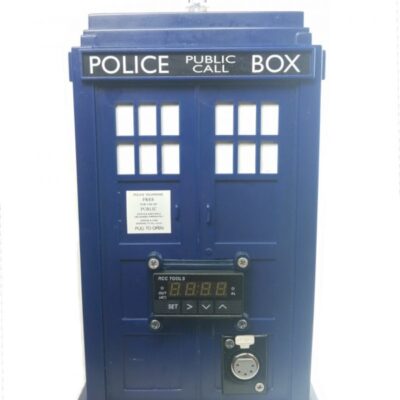
TARDIS E-Nail | Limited Edition
$179.99 -
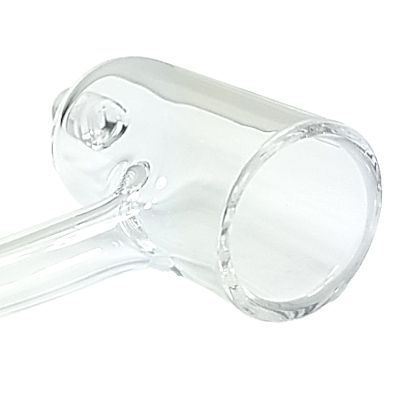
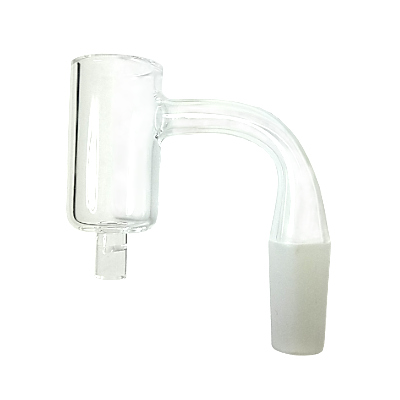
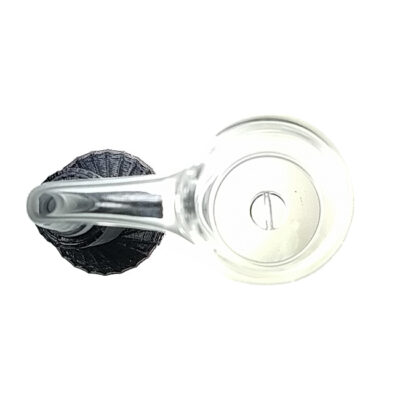
25mm Fully Worked Banger
$28.99 -
30mm Seamless Neck Banger
$28.99 -
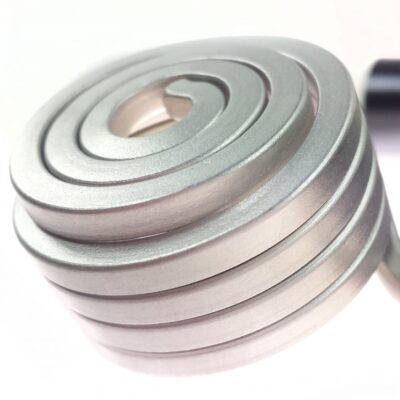
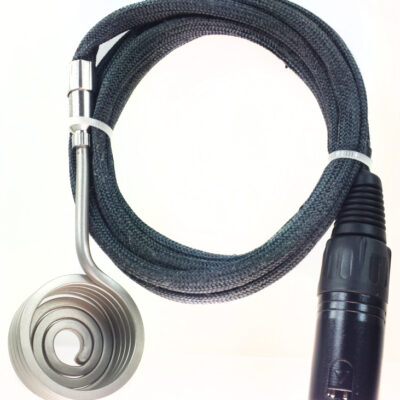
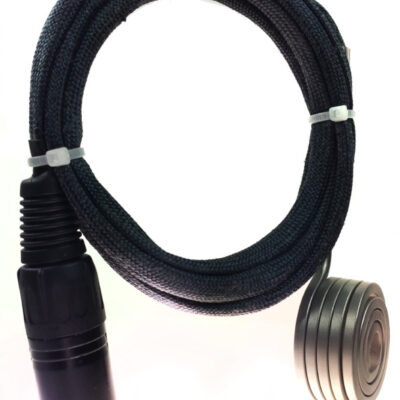
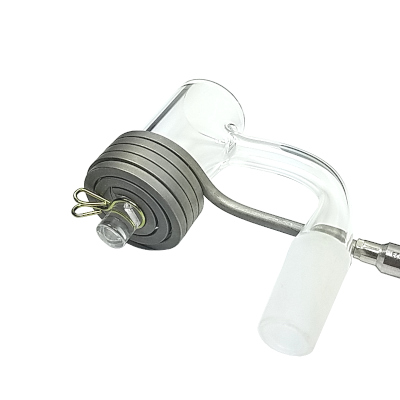
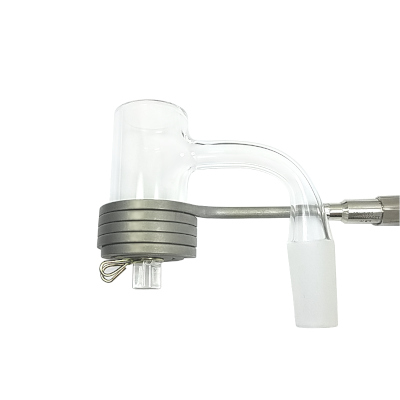
25mm Heat Coil Replacement
$39.99 -
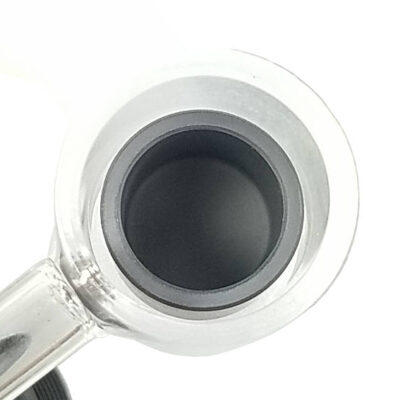
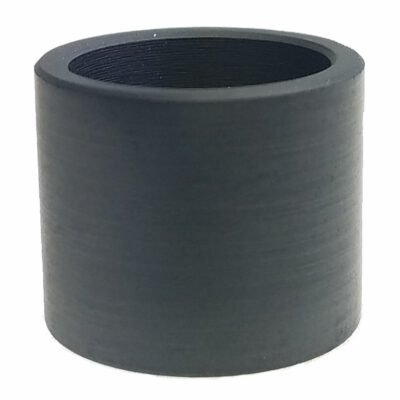
SiC Banger Insert
$29.99 -
Quartz Inserts (2-pack)
$8.99 -
Ultimate Accessories Upgrade
$44.99 -
Mario Brick Enail
$119.99$104.99 -
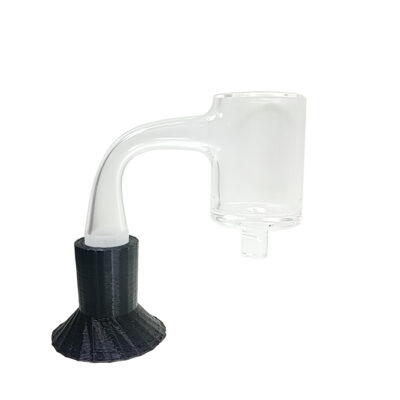
Nectar Collector Stand
$6.99
-
Standard Mini Enail
$84.99$79.99 -
R2-D2 E-Nail | Star Wars | Limited Edition
$209.99$179.99 -
Custom Enail Controller
$159.99$149.99 -
Sale!

 Out of stock
Analog Enail | Basic Version With Full Setup Options
$74.99$64.99 -
TARDIS E-Nail | Limited Edition
$179.99 -
25mm Fully Worked Banger
$28.99 -
30mm Seamless Neck Banger
$28.99 -
25mm Heat Coil Replacement
$39.99 -
SiC Banger Insert
$29.99 -
Quartz Inserts (2-pack)
$8.99 -
Ultimate Accessories Upgrade
$44.99 -
Mario Brick Enail
$119.99$104.99 -
Nectar Collector Stand
$6.99
CLEARANCE SECTION:
-
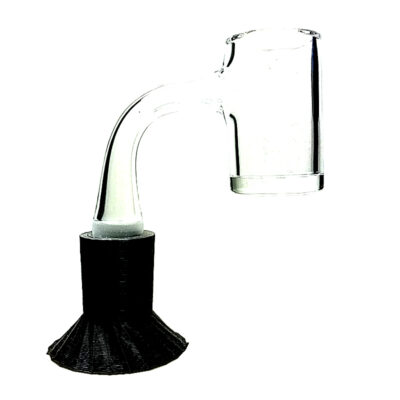 B-Stock 25mm Banger (no bottom nipple)
Rated 0 out of 5
B-Stock 25mm Banger (no bottom nipple)
Rated 0 out of 5$22.99$16.99 -
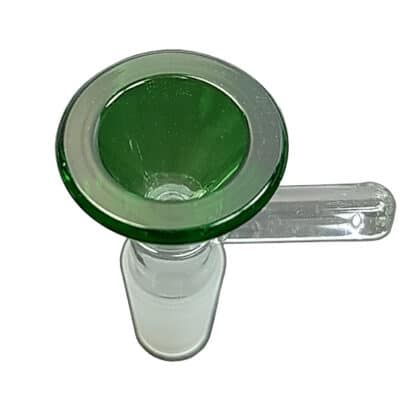 14mm Standard Cone Bowl
Rated 0 out of 5
14mm Standard Cone Bowl
Rated 0 out of 5$5.99$1.99 -
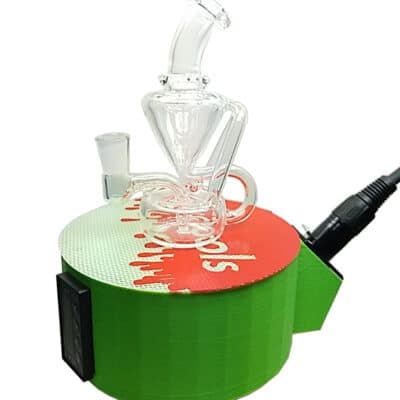 Dab Rig Caddy Enail Bundle
Rated 0 out of 5
Dab Rig Caddy Enail Bundle
Rated 0 out of 5$104.99$89.99 -
 Casey Jones Boxcar
Rated 0 out of 5
Casey Jones Boxcar
Rated 0 out of 5$45.99$34.99
FEATURED CUSTOMS:
Popular Item: R2-D2 Custom Enail Controller
The R2-D2 enail will be your heady guide ready to tune your temperatures on command and without fail. Only two left. These are extremely limited.
Slime time!
There’s only one Slimer enail available currently. These custom editions are highly limited.
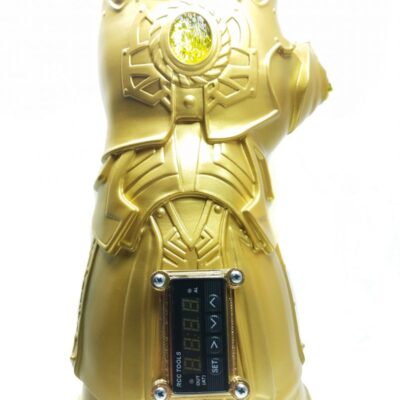
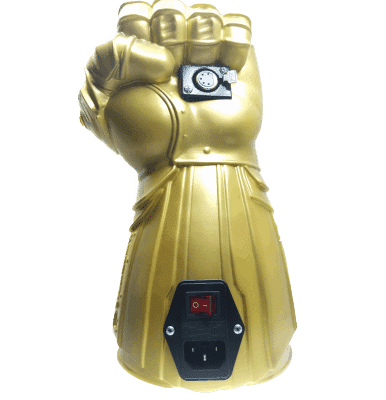
Infinity Gauntlet
Harness the power of the stones and wield steady control of your heat coil temperature!
BEST VALUE
Balance between top functionality, style, and affordability
FAST US SHIPPING
Shipping from Portland, Oregon, USA normally within just a few business days
SECURE PAYMENTS
No card or account details are stored. Payments are redirected straight to PayPal login or credit card.
4+ YEARS EXPERIENCE
RCCtools has taken on many custom enail projects since early 2015.
AS SEEN ON:
REVIEWS:
Only the best
The purpose of this site is to offer an expanding selection of the best value in heady and functional enail controllers and dab gear. Whether you landed here looking for a complete setup or just some replacement parts, you have found the place for affordability, functionality, style, and customer service. RCCtools has multiple years of experience designing, painting, and assembling custom enail controller kits for collectors all over the globe.
I strive to provide you with a trusted source for all of the best valued items to complete your setup; as well as quick shipping from Oregon, USA.
Many Thanks, #dabfam!
Your support and feedback are valued here. You contribute to a better experience for all who pass by and I appreciate all of your constructive feedback. User input helps make progress for better designs, items, and collections of items based on top function and style at an affordable price. Anyone looking for a good product or service can benefit from the experiences we have and share with the #dabfam
Info for newbies
Are you new to the dab game and still not sure which dab gear you need to make a full set? I get it, the number of options in enail controller options alone can be daunting — not to mention accessories as well! Have no fear! Finding the right setup is not as difficult as it may seem. I’m sure we can figure out something that meets or exceeds your expectations with the wide range of coils and attachments available.
Why choose RCCtools?
- Providing Affordable yet reliable enail dab gear since 2016
- Different XLR plug wiring configurations are available to match any wiring order for your plug.
- Best value of heady enail and dab gear accessories balancing function, style, local sourcing, and price
- A quick stop to find the most functional and heady e nail gear shipped ASAP from the West Coast.
- Responsive and attentive customer service with a deep understanding of your needs as a person and a customer
Since early 2015 RCCtools has been designing, assembling, and painting enail controllers for the #dabfam all over the globe. It all started from an annoyance I had with propane torches and empty cans. In order to remedy the situation I set out to create a heady e-nail that didn’t cost $400+. There were only a small handful of American brands, and at the time people were still using t-shirt presses and hair straighteners for pressing rosin. I was throwing together elementary electronic components trying to create a cheap enail and marble-izing every object that I possibly could in a deep fascination for the technique and the resulting designs. Fast forward 2+ years and there are dozens of e-nail companies on the market.
If you’d like to read a little more about me and my journey from there to here, read more at the about RCCtools page.
Customized design
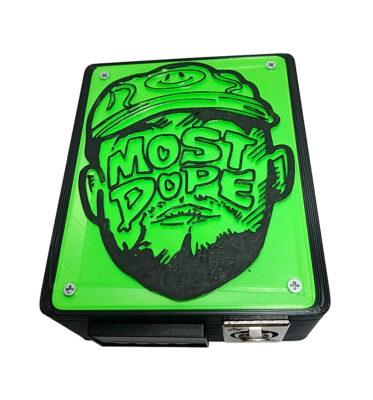
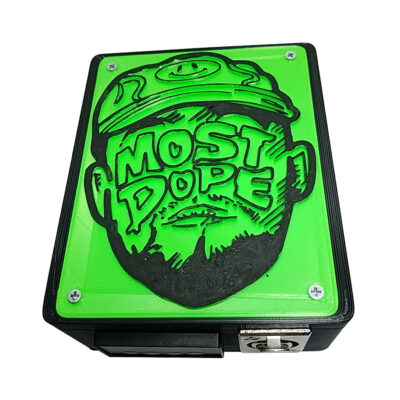
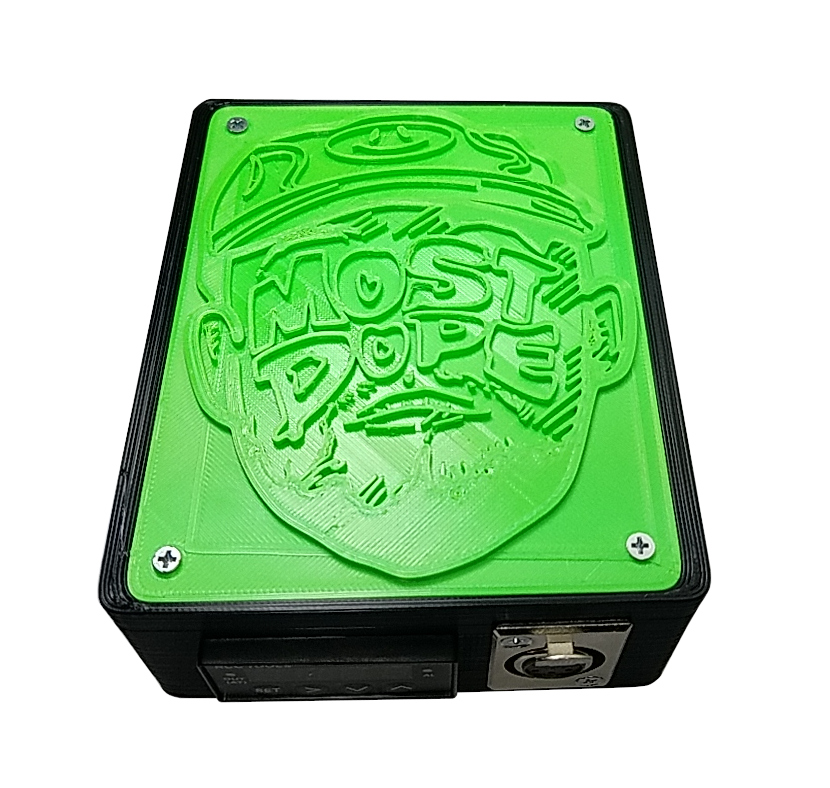
My enails are custom designed in Oregon, USA according to what I like to use. I pioneered the top-side plug design, I 3D print custom cases, and also commission custom injection molded cases which are manufactured in the USA.
Carefully wired & inspected
Each unit is wired and inspected by a single dedicated individual who is focused and dedicated fully to the quality of the electronics in each piece. A thorough inspection is performed before shipping to prevent time-consuming and costly returns. A two year warranty is offered to ensure confidence and comfort in your purchase. You shouldn’t have to worry about attempting to make returns due to faulty hardware, bad connections, or poor inspection.
Interchangeable parts-- never proprietary or exclusive
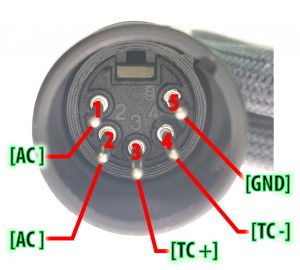
All components are standard and can easily be replaced. If you need to replace your heating coil please refer to this pin configuration: pin1= ac, pin2=ac, pin3=tc+, pin4=tc-, pin5=ground for both the coils and the controllers. Some manufacturers attempt to keep their coils exclusive, and use non-standard XLR connectors to force you to buy your replacements from them.
RCCtools uses standard sized XLR plugs found in many top brands available today. These brands value part compatibility and long-term usefulness more than they value trying to create an artificial dependency on their proprietary wiring style. Using a standard wiring order makes finding matching replacements easier for those using these brands found at the bottom of the wiring order guide page.
No tricky heat coil wiring or deceptive practices
Your heat coil should last a long time, but it is important to consider future replacements if you intend on using your e-nail for years to come. One of the biggest headaches that I’ve found customers have is dealing with other companies that try to wire their controllers and heat coils differently just to try to make their customers dependent on them. I’ve even heard of companies that lie about their wiring order (or actually have no idea how their own product works). My e-nail controllers and heat coils are wired according to the exact same configuration that D-Nail and others set as the standard back in 2015. Instead of trying to trick you or confuse you, I actively help customers find what their wiring is so they know they are buying something that is compatible with the rest of their setup. I put out ample information on this topic to help avoid confusion and frustrating purchases.
Unfortunately, even though most enail coils use standard XLR 5-pin connectors, you need to keep in mind that the 5 pins can be arranged differently. If the pins on the coil connect to different pins on the enail controller, it either won’t respond, or could respond dangerously (the heat coil cable starts short-circuiting and smoking). This is why it’s extra important to buy your gear from someone that has no problem answering your compatibility questions and doesn’t try to withhold this information whatsoever.
High quality yet affordable
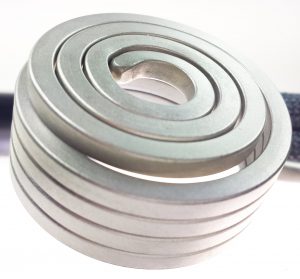
All of the most functional and valuable parts can be found here without destroying your budget. Why pay 50% more for a heating coil and/or banger that’s essentially the same thing, but marked up to make it appear premium? In addition to offering quality accessories at reasonable prices, RCCtools enail controllers are industry standard PID technology, fuse protected, and never try to trick you with proprietary wiring that leave you stuck with an incompatible coil. RCCtools uses the same PID tech that’s been cooking your pizzas at Domino’s for decades. These bad boys are even used in refrigeration, self driving cars, and more! You can find just about any information you could ever want about how enails work and the wide variety of applications other than dabbing on the mini enail page.
All items here are selected for their overall value including function, style, and price. Besides customer service the remainder of the time is mostly spent sourcing accessories as well as dreaming up and designing the most heady custom enail enclosures, packed with fun, character, and style!
No additional marketing costs baked-in
RCCtools e-nails rely as little as possible on marketing, re-uses packaging materials, uses strategic sourcing, and limited outsourcing, so that the most reasonable prices can be offered to the customer. Bulk components are purchased to keep prices down, and minimal materials are wasted. An established, streamlined production system keeps labor costs down and final prices agreeable to offer the best e-nail for your money.
No shady sales tactics or cheap tricks
I only offer affordable, quality products and verifiable claims. Unlike other companies who have been known to make false claims such as fully manufacturing their enails in the USA, having a heat-up time that is 3x faster, exaggerating the time in marketplace, exaggerated so-called “wins” in “competitions” that they actually paid for, etc., Other companies publish biased and/or payed reviews, copy content and plagiarize, make false claims, and outright lie to gain sales. This is frustrating for the honest companies out there. The number of sellers that simply employ their friends to put in a good word for them, pay someone else to write slick marketing content, and pay another to push it to the top of search results is insane. It is watering down the market. Do your due diligence on any claims made from other companies.
Industry standard PID controls
The PID controls used in these e-nails are the industry “gold standard” for many good reasons. They are accurate and precise. Overshoot rarely gets to be over 30 degrees Fahrenheit over the set temperature when powering up-– compared to one controller I saw discussed that overshoots more than 100 degrees Fahrenheit regularly. Once the controller has been cycled several times, the overshoot can be as little as 10 degrees Fahrenheit. Additionally, I have read reports of one brand taking up to 5 minutes to get up to the set temperature, compared to under two minutes for RCCtools controllers.
Protected units
Fuse protection is a critical feature for your e-nail. Without a fast-blow fuse there is no safeguard to prevent dangerous and life-threatening events involving high-amp “mains” power from potentially damaging your electronic dab nail (or your property). The best e-nail models come equipped with fast-blow fuse that could potentially save your life if any of these events were to occur.
Fuses are actually dirt-cheap, take up very little space inside the controller casing, and are relatively easy to install. Therefore it comes as a surprise that some online retailers are still selling enail setups that are not fuse-protected. This is a good indicator of how much care went into the design of the e-nail controller, so it’s a good idea to check before purchasing. You definitely want a fused unit for the sake of your safety (and that of others). The best e-nail models also have an accessible fuse-port in back that allows for easy fuse replacements, should you need to do a change out.
Glance at the back and see what you got
One way to check is to look at the power receptacle itself, which is normally located on the back side of the unit. Some sellers include pictures of this with their product pages. If the receptacle has some space next to the power cord port and there is a fuse symbol there, then it’s almost certain it’s there. If this type of receptacle did not include the fuse, the unit would fail to power-up. This is not to say that the fuse could not be located somewhere else in the case, but if you see the fuse symbol it’s probably there. See the picture below for an example of where to look. If still in doubt, ask the seller to be sure.
SSR vs. mechanical relay
Some PID controllers use a mechanical relay to send energy to the heating coil in successive heating cycles. They use switches that click on and off via electromagnetic control. These are fairly reliable, but the best e-nail models use a solid state relay (SSR). This version is less prone to mechanical failure in the long run. Instead of a mechanical switch, the SSR uses a small LED light and a photo-sensitive resistor to deliver heat in very short pulses. The mere presence of light closes the circuit using this unique electronic component. SSR’s also have the advantage of being totally silent while functioning, compared to the constant clicking of the mechanical relay. That being said, the clicking could be a plus if you need a reminder to switch it off every now and then. An easy way to tell if your electronic nail uses an SSR is to look for the shorter PID controllers with one display line. These normally use a SSR to pulse energy to the heater.
Plastic cases over aluminum
RCCtools standard enail controllers are enclosed in an ABS plastic case because it is one of the most durable and appropriate materials for the application (think LEGOS: have you ever come close to breaking one?). It is also a rust-proof material that is non-conductive; protecting the electronic parts against static charge and condensation. This can make a big difference in case of a spill or other extreme moisture being present. RCCtools 3D printed cases are made from a compostable plastic called PLA that is a byproduct of the sugar making process. It’s technically decomposable, although it takes quite a while for it to break down.
Size & color options
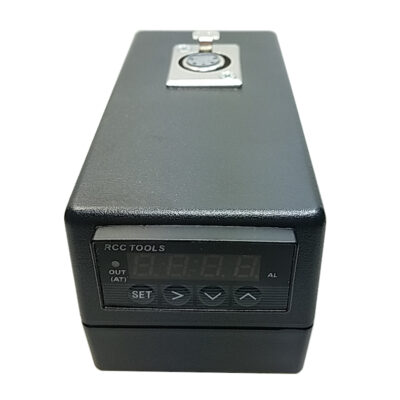
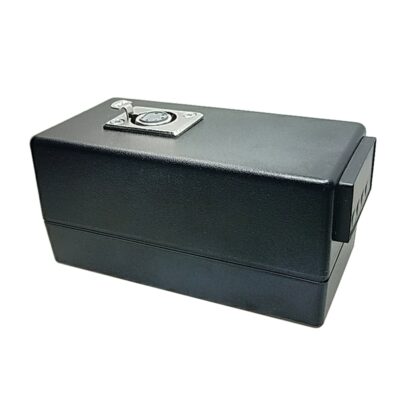
RCCtools enails come in a variety of size options from compact size to extra large singles, to dual e-nails. The electronics are all the same in the compact and standard sizes. The only differences are in appearance and how the controller occupies your space. The compact size is designed with the heat coil coming from the top to save additional surface space compared to other models with front-facing plugs. The larger size simply allows for more painted area, and a richer design finish. Of course, the dual electronics are also the same as the other models, only doubled to allow for 2 heater coils to be controlled separately for use in dual dab rig setups as well as rosin press platens.
Individualized Paint Finish
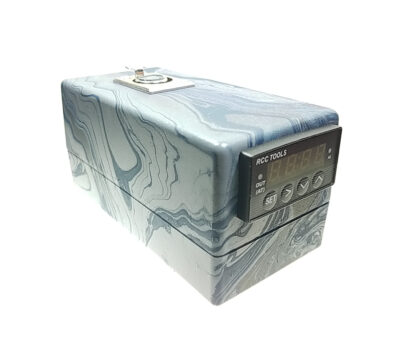
RCCtools applies a unique marbleized paint finish to select e-nail enclosures. The hydro dipping process produces a truly unique marble-like pattern. The final design of the enclosure is affected by the numerous factors at play during the hydro painting process. Therefore, each design has it’s own individual “fingerprint”, and therefore can never be replicated 100%. The final design paint finish can depend on many factors such as time of exposure to wind, air & light, moisture in the atmosphere, swirling/tilting, as well as the various properties of the different paints. Hydro dipping comes from a process that stems from the Asian tradition of suspending pigments on water and creating fantastic images (sometimes mutating these images into other images multiple times) before laying a prepared sheet of paper onto the surface to capture the design. Mastering intentional, well-crafted results takes patience, but it is also fairly easy to get an “average design” that still looks really amazing due to the natural swirling process. Of course this is mainly in the eye of the beholder; but enthusiasts of this art would agree that there certainly are better or worse designs and varying degrees of quality in the finished product depending on skill. Studies of color theory are implemented in bringing forth tasteful yet eye-catching, vibrant color schemes that are drawn from natural forces, outer space, the man-made environment, and other aesthetics.
Accessories and add on options
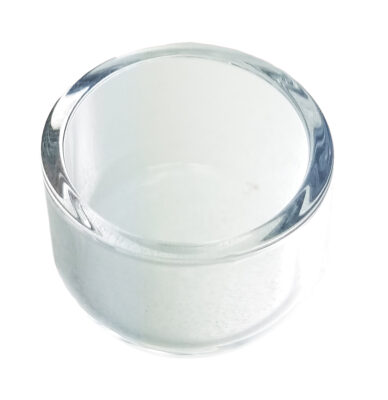
Each enail controller comes with options to choose which accessories you want, including some free handy add-ons. Some prefer a larger banger, some prefer smaller, so have it your way. Options for heat coils and holders are available to keep your coil snug on the banger. If you are not sure what would be the best for you, contact me and I can put together a pre-bundled package to eliminate the guess work and save you some cheddar.
Top three reasons to buy American (if you’re also American)
The first reason is that shipping times are often a fraction of the wait compared to shipping from overseas companies such as Aliexpress – especially when certain holidays are taking place – and unless you do a lot of business overseas you probably won’t be aware of these holidays or forget to take note of them until it’s too late.
Second, there is a higher chance that domestic customer service will be able to meet your needs much more quickly and efficiently. Language barriers, time of response, true understanding of the product, cultural differences, and sympathetic views all can play a part in the experience.
Third, in the event that you need to return a unit that was damaged in shipping or not properly inspected, it can be difficult to impossible to ensure that your return package is tracked & accounted-for after it crosses the border. This can lead to high costs in time and money trying to track the package, and can leave room for dishonest sellers to disappear after your money is received. Filling out a customs form for an electric dab nail may also be a tricky maneuver, in addition to spending extra time at the post office.
What most American companies won't tell you
In my opinion, Chinese manufacturers deserve their credit. Yes, some Chinese products are straight garbage, but on the other hand some of the most high end and sophisticated brands also manufacture their products there as well. It all comes down to what you specify and what you pay for. Buying American is ideal, but some items just can’t be sourced in America, according to the pricing expectations of the consumer.
China has been able to coordinate massive labor and marketing efforts to position themselves as the electronics manufacturing center of the world. They can produce the cheapest goods, yet at the same time able to produce a high standard of quality that the most Americans demand. However, unless you’re planning on purchasing bulk electronic components to DIY, going with an enail seller that is located closer to you may avoid some frustration and wait time. The language barrier can be quite difficult sometimes and clear and timely communication makes a big difference in the customer experience.
2-year warranty
A warranty does wonders for your peace of mind– covering your e-nail controller from being sent off without proper inspection and faulty components. The RCCtools enail controller warranty is for two years. Other select parts and accessories such as the heat coil also come with a similar warranty. The electronics in an electric dab nail are not relatively complex and therefore manufacturing mistakes are rare although of course they’re always possible in any mass manufacturing process.
Peace of mind
RCCtools covers the controller electronics so you don’t have to worry about your purchase. I strive to provide the best e-nail products available. I also want you to be informed. This is why I created this blog— to provide a comprehensive resource for all things related to enail gear.
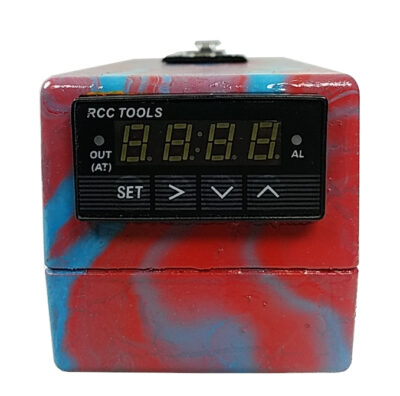
Long term value
RCCtools electronic nail controllers heat safely and reliably to a steady 650F within 2-3 minutes. The temperature range goes up to 1000F for the hottest dabs you could possibly want.
Many of the newer portable enail units simply lack the power, reliability, and clean-ability that you would expect from of a full enail dab kit. Electronic nail (e-nail) controllers have proven to be the most solid long term solution to heat a dab nail for a large amount of the daily dabbers out there.
RCCtools custom enail dab kits are accurate, stable, and perfect for maintaining steady dabbing temperatures. I stick to the same tech that has been used in such industrial equipment such as pizza ovens plastic parts molding, and other industries that have been around for decades.
Dreams to reality
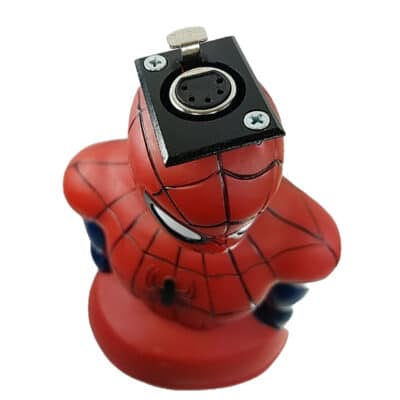
I can take on a wide range of project ideas and would love to hear what you have in mind! Browse the selection to get the ideas rolling or contact through email to discuss your custom enail. Together we can top off your collection and make your heady dreams come alive! Since 2015, many amazing and happy customers across the globe have trusted their dab station setups with RCCtools. See the reviews page for more.

Still need more info?
Maybe you are looking for more information on heating coil wiring to controllers or to dab nails. Check out this guide. Have some general questions about enail kits? Here’s the enail FAQ for some answers. If your question wasn’t answered in the FAQ there’s more in the dab gear info area.
If you don’t find your answer there don’t hesitate to send a message! After all, others will like have the same question, so we all benefit when your voice is heard. Go ahead and suggest an improvement or product that you don’t see here and want to see by using the contact page.

Conner Goertzen
I am a DIY electronics enthusiast who has been 3D printing since 2018, making custom e-nail controllers since 2016, and putting together custom electronic instruments since 2011.

